Using Enterprise-Managed GitHub Copilot Agents and Subagents
A hands-on test of enterprise-managed GitHub Copilot custom agents and subagent orchestration across GitHub.com, VS Code, Copilot CLI, and the Copilot app
Overview
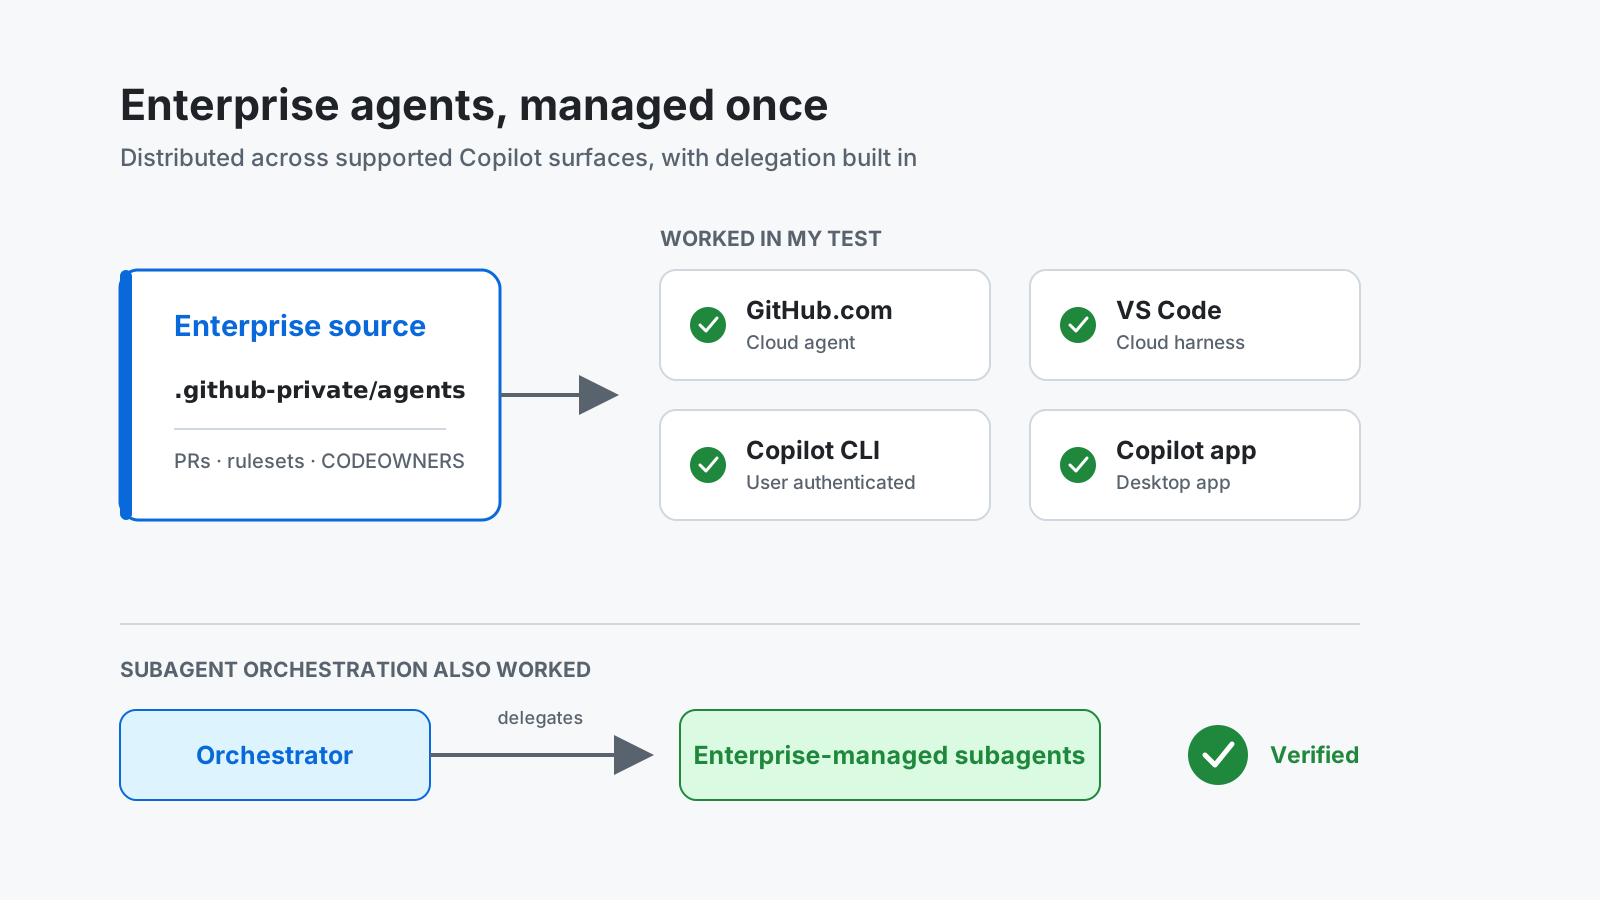
I did not want to copy the same GitHub Copilot custom agent profiles into every repository. GitHub supports managing them centrally, making them available across the enterprise (on supported Copilot surfaces), and updating them in one place.
I also wanted to know whether the agents could call each other. Seeing them in the agent picker only proved that distribution worked. I configured an orchestrator, three workers, and a verifier. The orchestrator delegated work to each worker, then asked the verifier to check their output.
The test passed in Copilot cloud agent sessions on GitHub.com, VS Code Cloud mode, GitHub Copilot CLI, and the GitHub Copilot app. The same enterprise profiles did not appear with either the Local or Copilot harness selected in VS Code during my testing.
Some custom-agent support is still in public preview. I have linked to GitHub’s documentation where applicable and called out the results from my own testing.
The Orchestrator, Workers, and Verifier Test
I configured five enterprise-managed custom agents:
| Agent | Responsibility |
|---|---|
| Subagent Orchestrator | Coordinated the workflow, delegated work to the three workers, and asked the verifier to validate the result |
| Alpha Worker | Created an Alpha marker file |
| Beta Worker | Created a Beta marker file |
| Gamma Worker | Created a Gamma marker file |
| Marker Verifier | Confirmed all three worker marker files existed and created a final verification marker |
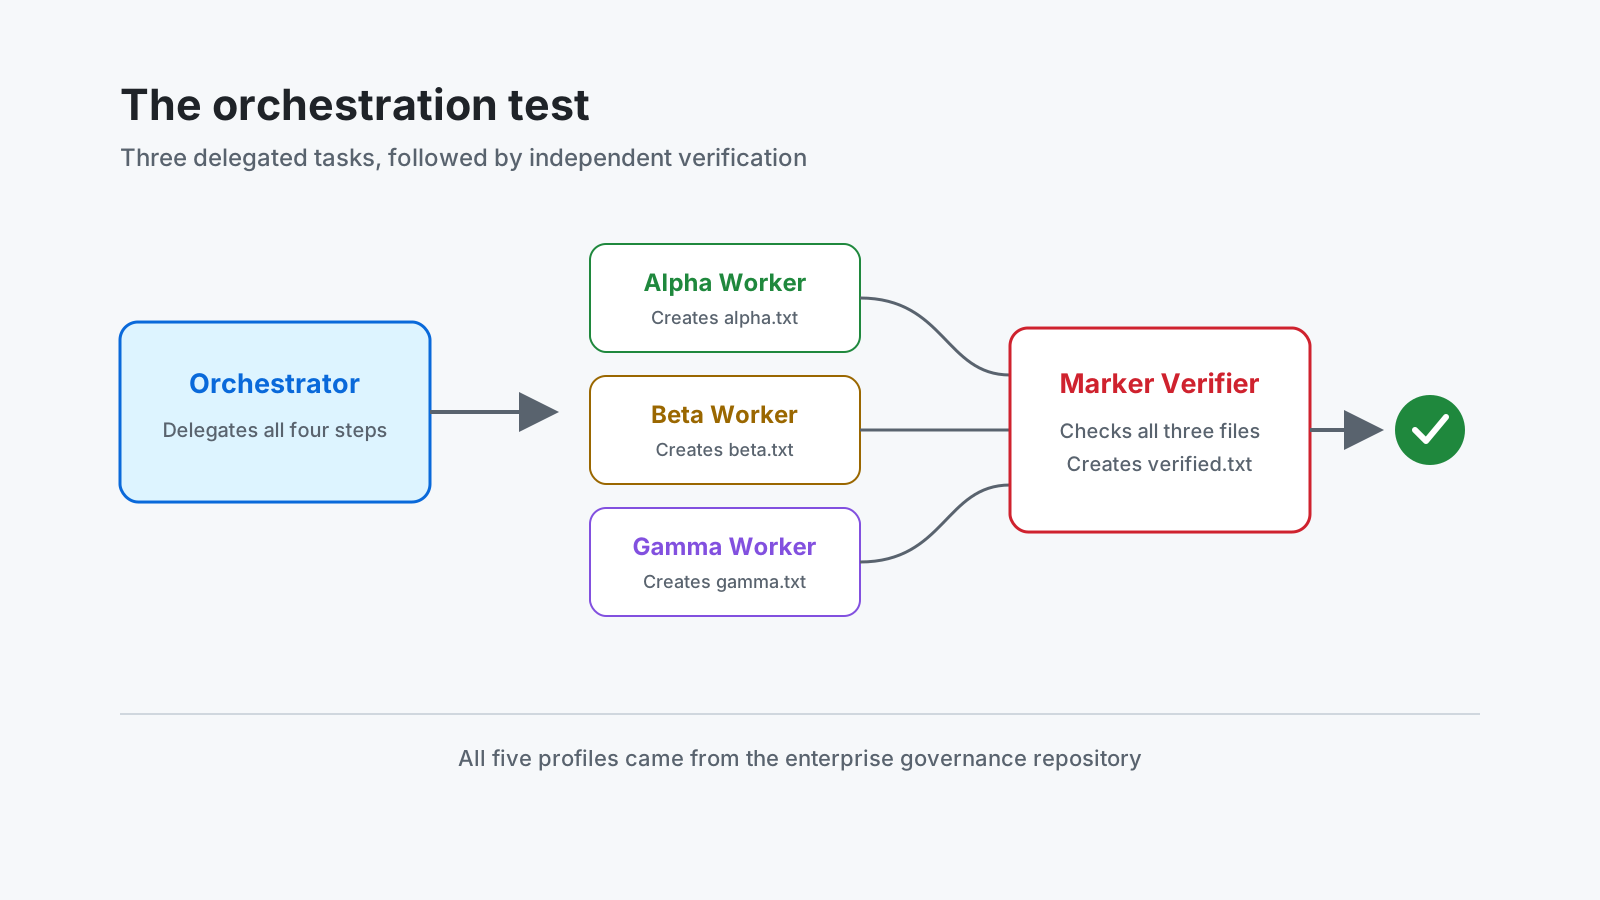
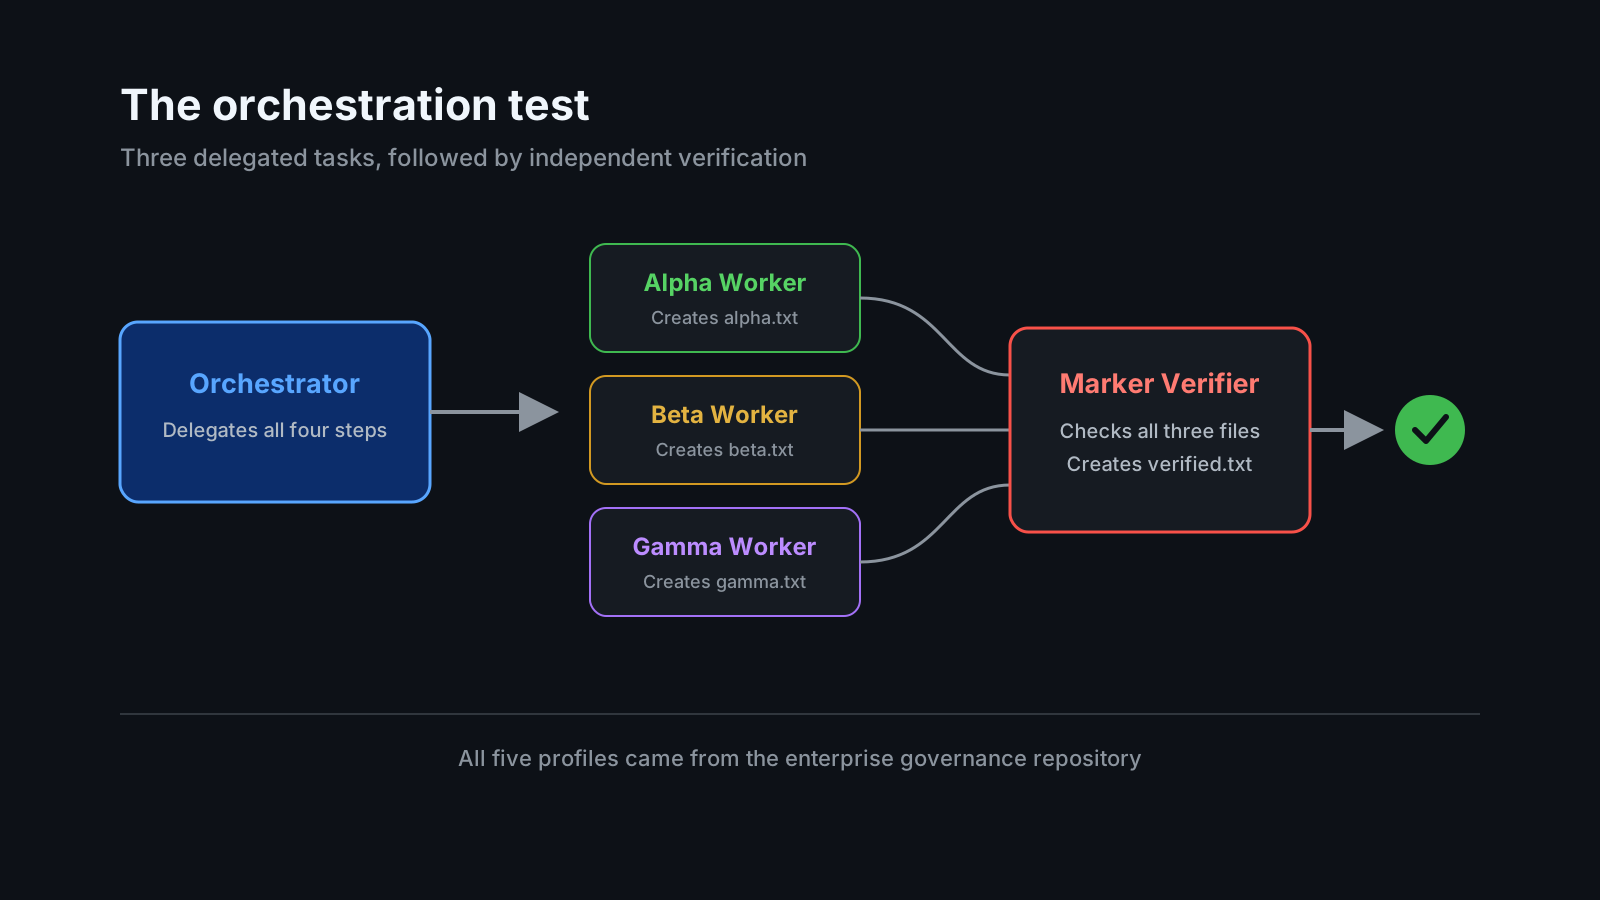 One orchestrator called three workers, then called a verifier to check their files
The files were simple on purpose. The orchestrator had to call the other enterprise-managed agents, the workers had to write the files, and the verifier had to check them.
The orchestrator needs the agent tool to call another agent. GitHub also lists custom-agent and Task as compatible aliases in the custom agents configuration reference.
How Enterprise Agent Distribution Works
Repository-level agents still make sense for repository-specific behavior. For agents used everywhere, I would rather manage one copy with pull requests, rulesets, and CODEOWNERS.
GitHub documents these profile locations:
| Scope | Profile location | Availability |
|---|---|---|
| Repository | .github/agents/CUSTOM-AGENT-NAME.md | That repository |
| Organization | /agents/CUSTOM-AGENT-NAME.md in the organization’s .github or .github-private repository | Repositories in that organization |
| Enterprise | /agents/CUSTOM-AGENT-NAME.md in the designated organization’s .github-private repository | Repositories across the enterprise |
To distribute agents across an enterprise:
- Choose an organization in the enterprise to own the governance repository.
- Create an internal or private repository named
.github-private. - Add released agent profiles under
/agentson the default branch. - In the enterprise settings, open AI controls, select the Agents tab, and choose the organization containing the
.github-privaterepository as the configuration source. - Optionally protect the profiles with rulesets and
CODEOWNERS.
A simplified repository layout looks like this:
1
2
3
4
5
6
7
8
.github-private/
├── agents/
│   ├── subagent-orchestrator.md
│   ├── alpha-worker.md
│   ├── beta-worker.md
│   ├── gamma-worker.md
│   └── marker-verifier.md
└── README.md
To test an agent before releasing it, put it under .github/agents in the governance repository. Move it to /agents when it is ready for everyone.
An internal
.github-privaterepository gives enterprise members read access so they can inspect and propose changes. A private repository lets you grant that access manually. GitHub notes that the settings still apply to eligible enterprise members using supported clients even if they cannot read the repository.
For the current setup steps, see GitHub’s guides for organization-managed custom agents and enterprise-managed custom agents.
Where They Worked
| Surface | Enterprise agents available? | Subagents worked? | Notes |
|---|---|---|---|
| Copilot cloud agent on GitHub.com | Yes | Yes | The orchestrator and worker agents appeared and ran in a cloud agent session |
| VS Code Cloud mode | Yes | Yes | Cloud mode used the Copilot cloud agent runtime, where the enterprise profiles were available |
| VS Code Copilot harness | No | Not tested | The centrally managed enterprise profiles did not appear |
| GitHub Copilot CLI | Yes | Yes | The complete test passed after authenticating Copilot CLI with my Copilot-enabled user account |
| GitHub Copilot app | Yes | Yes | The app discovered and ran the same enterprise agents, consistent with its use of the Copilot CLI runtime |
| VS Code Local mode | No | Not tested | Built-in and repository-local agents appeared, but the centrally managed enterprise profiles did not |
GitHub’s about custom agents page documents custom agents for Copilot cloud agent on GitHub.com, Copilot cloud agent in supported IDEs, and GitHub Copilot CLI. The Copilot app result and the differences among VS Code’s Local, Copilot, and Cloud harnesses are my observations from this test.
In VS Code, Cloud, Local, and Copilot are separate choices. The enterprise profiles appeared only when I started a new session with Cloud selected.
Authentication Troubleshooting in Codespaces
Inside a Codespace, Copilot CLI found the orchestrator by name but failed when it tried to load the full prompt.
That Codespace was using a repository-scoped token. After I authenticated Copilot CLI with my Copilot-enabled user account, the orchestrator loaded and the full test passed.
This was one Codespace configuration, so I would not assume every Codespace behaves the same way. If an agent appears but its prompt does not load, check which account Copilot CLI is using.
An agent appearing in the list does not mean the client can load and run it. Test the actual prompt before debugging the orchestration.
The Custom-Agent Slug API Pitfall
The custom_agent value must be the agent profile slug. In this example, that is the profile filename without the .md or .agent.md extension:
1
"custom_agent": "subagent-orchestrator"
These values did not work:
1
2
Subagent Orchestrator
agents/subagent-orchestrator.md
The first is the display name and the second is the source path. Both were accepted when I created the task, but the cloud agent session failed during startup. Using subagent-orchestrator worked.
GitHub’s API documentation calls this field custom_agent. The custom agents configuration reference explains that profiles are identified by filename. Use the filename-derived slug in the API, not the display name or file path.
Summary
I can now manage these agents in one repository instead of copying them everywhere. The orchestrator also confirmed that one enterprise-managed agent can call other enterprise-managed agents.
I would keep repository-specific agents in their repositories and put the reusable ones in .github-private. Test each Copilot surface you plan to support, and make sure the agents actually run rather than stopping when their names appear in the picker.